This article describes how to enable inventory tracking for your items on Shopify. Enabling inventory tracking on Shopify allows SKU IQ to not over-sell your products on your website.
Overview
Shopify offers you the ability to track your inventory or not on every item on your website. Not tracking your inventory for an item can be handy if the item is a custom-order item or is a service that you offer (e.g. a design fee or a consultation). This allows you to continue to sell that product or service regardless of stock. You can do this for any item that you can order in to fulfil the eCommerce order.
Why is This Important?
When using SKU IQ, products that you intend to link between your Shopify and your Point of Sale, you must enable Inventory Tracking on, otherwise you will be able to over-sell the product on your website if the inventory becomes 0 on your Point of Sale. This will, of course, result in customer disappointments if these are items that you do not intend to replenish.
How to Turn Inventory Tracking On In Shopify
There are two ways to do this from your computer. You can do it for individual items or in bulk using bulk editing. If you intend to track all of your inventory, we recommend doing the edits in bulk.
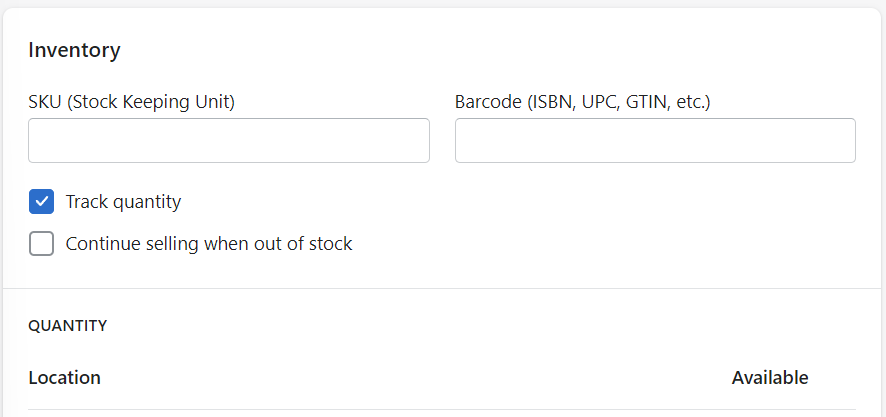
You can also make sure this is turned on when you are creating a new product on Shopify by making sure that "Track Inventory" is checked under the Inventory section on the add a new product page.
How to Enable Inventory Tracking for Individual Items
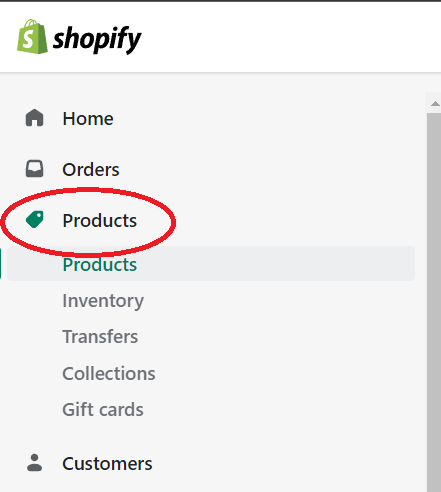
1. From your Shopify Admin dashboard, go to Products
2. Click on the item you want to track
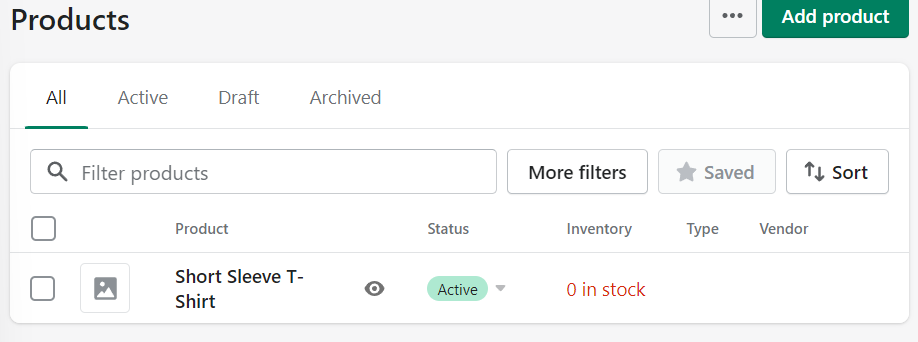
If there are variants of this product, you will need to do each individual product.
3. Scroll down to the Inventory section and click the checkbox for Track Quantity.
4. For the purposes of SKU IQ, DO NOT check "Continue selling when out of stock". This will input negative numbers in to your Point of Sale.
5. Change the quantity in the Available column so that your item will not show as OUT OF STOCK on your website. If you have this product already linked via SKU IQ to your Point of Sale, make sure to put the same number that is reflected in your Point of Sale. If you put a different number in and the product is already linked, this will cause the Point of Sale to reflect the new number as well as your Shopify.

5. When you are finished, scroll down and click Save.

How to Enable Inventory Tracking In Bulk
1. From your Shopify Admin dashboard, go to Products

2. Click on the checkbox at the top of the list of your products to select all of your inventory.
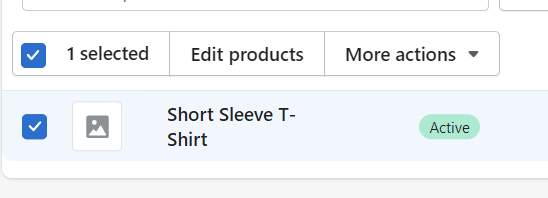
3. Click on the Edit Products button
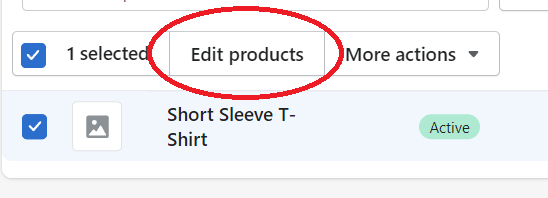

4. This will take you to the Shopify Bulk Editing page. This is a handy tool for changing prices, adding categories and SKU#s quickly. You'll want to click on the Columns button at the top right hand corner.
5. A drop down menu will appear with a multitude of options you can choose to help you edit your product catalog in bulk. You can either scroll down to Track quantity or use the search functionality to look it up. Click the check box next to Track quantity to display it on the Bulk Editing page.
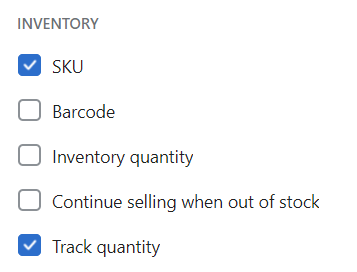
6. The new column will appear at the end of the spreadsheet. You may see items that have checkboxes checked and some that may not. For the products that you want to have inventory tracked on, make sure that the box is checked in this column. 
You will need to do this for all of the items you want to track if you have not been tracking previously.
7. When you're finished, make sure you click Save at the top right of the screen before navigating away from this page, otherwise your work will be lost.
More Resources:
Shopify Support: Enable Inventory Tracking
Shopify Support: Bulk Editing
